From creating an internal app to getting your first AI reply in a DingTalk group (Stream Mode, no public IP needed, 4 error fixes included)
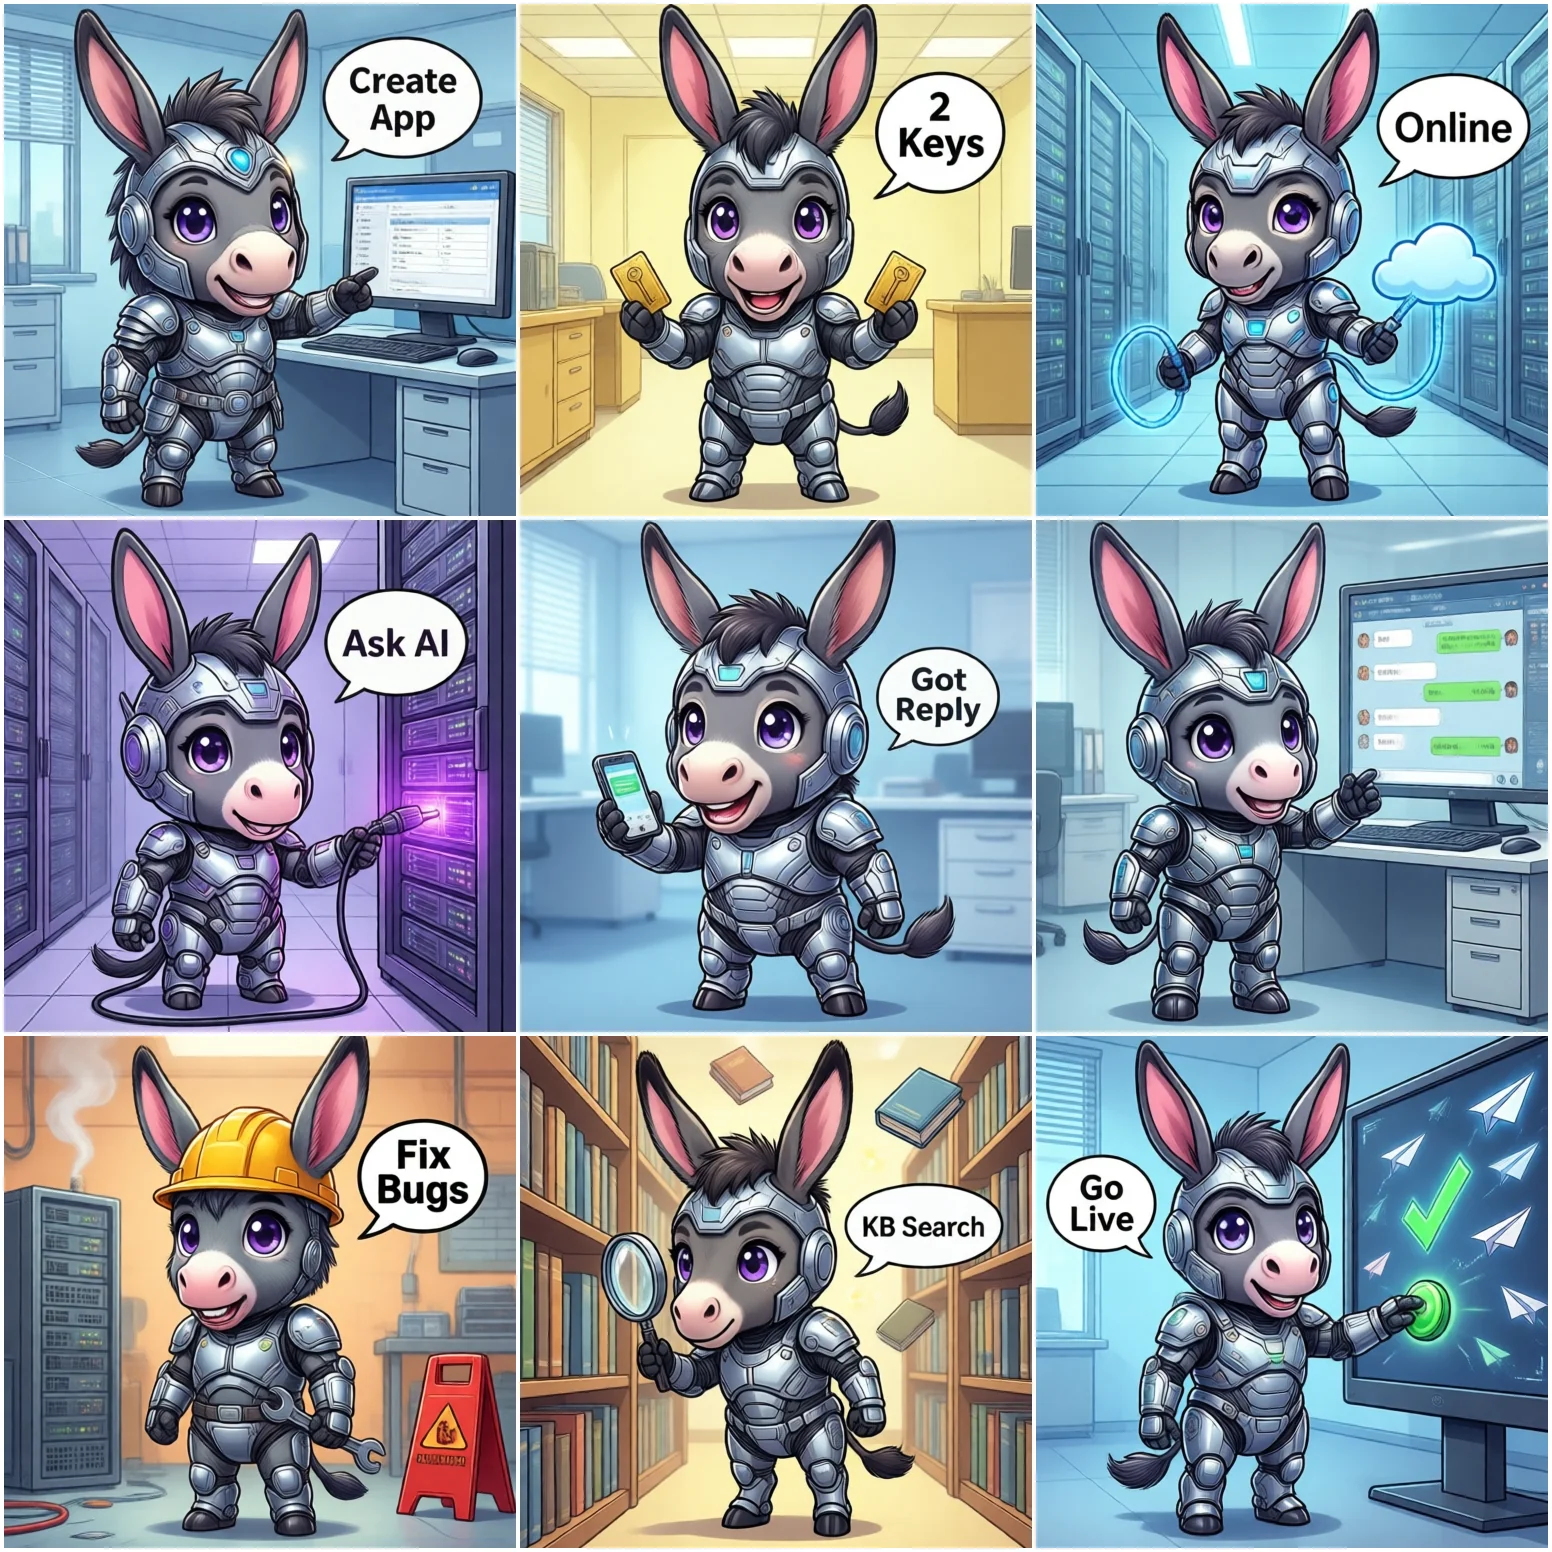
dingtalk-stream SDK to receive and reply to messages → plug in an LLM API → @ the bot in a group and get an AI answer. No public IP, no callback URL. It is a full order of magnitude simpler than WeCom's AES callback setup. 4 common errors and fixes at the end.
open-dev.dingtalk.com (DingTalk developer console) → App Development → Enterprise Internal App → Create AppAppKey and AppSecret (AppSecret is shown only once; you must reset it to view it again)The official Python SDK (dingtalk-stream) wraps the WebSocket connection, heartbeat and auto-reconnect. Install it and save the code below as bot.py:
pip install dingtalk-stream
import logging
import dingtalk_stream
from dingtalk_stream import AckMessage


def setup_logger():
    logger = logging.getLogger()
    handler = logging.StreamHandler()
    handler.setFormatter(
        logging.Formatter('%(asctime)s %(name)-8s %(levelname)-8s %(message)s'))
    logger.addHandler(handler)
    logger.setLevel(logging.INFO)
    return logger


class EchoHandler(dingtalk_stream.ChatbotHandler):
    async def process(self, callback: dingtalk_stream.CallbackMessage):
        message = dingtalk_stream.ChatbotMessage.from_dict(callback.data)
        content = message.text.content.strip()
        self.logger.info('Received: %s' % content)
        self.reply_text('Echo: ' + content, message)
        return AckMessage.STATUS_OK, 'OK'


def main():
    logger = setup_logger()
    credential = dingtalk_stream.Credential('YOUR_APP_KEY', 'YOUR_APP_SECRET')
    client = dingtalk_stream.DingTalkStreamClient(credential)
    client.register_callback_handler(
        dingtalk_stream.chatbot.ChatbotMessage.TOPIC, EchoHandler(logger))
    client.start_forever()


if __name__ == '__main__':
    main()
Run python bot.py. Once the log shows the connection is up, @ the bot in a DingTalk group with "hi" — you should get "Echo: hi".
Replace EchoHandler with a handler that calls an LLM API. Using DeepSeek as an example (create an API key at platform.deepseek.com after topping up; live prices are on their pricing page — at the time of writing, deepseek-chat output is about ¥2 per million tokens):
import requests

API_KEY = 'YOUR_DEEPSEEK_API_KEY'


def ask_ai(text):
    resp = requests.post(
        'https://api.deepseek.com/chat/completions',
        headers={'Authorization': 'Bearer ' + API_KEY},
        json={
            'model': 'deepseek-chat',
            'messages': [{'role': 'user', 'content': text}],
        },
        timeout=30)
    return resp.json()['choices'][0]['message']['content']


class AIHandler(dingtalk_stream.ChatbotHandler):
    async def process(self, callback: dingtalk_stream.CallbackMessage):
        message = dingtalk_stream.ChatbotMessage.from_dict(callback.data)
        content = message.text.content.strip()
        self.logger.info('Received: %s' % content)
        answer = ask_ai(content)
        self.reply_text(answer, message)
        return AckMessage.STATUS_OK, 'OK'
Swap EchoHandler for AIHandler in the Step 2 code, restart the script, and @ the bot again — the reply is now the model's answer.
messages array before sending to the model (keep it short — if too long, keep only the most recent turns)content.strip(), also do replace('@bot','') so the bot's name is not fed to the modelOnce it works on your dev machine, move the script to a server and let systemd manage it (auto-restart on crash; the SDK also reconnects by itself):
sudo tee /etc/systemd/system/dingtalk-bot.service <<'EOF'
[Unit]
Description=DingTalk AI Bot
After=network-online.target

[Service]
WorkingDirectory=/opt/dingbot
ExecStart=/usr/bin/python3 /opt/dingbot/bot.py
Restart=always
RestartSec=5

[Install]
WantedBy=multi-user.target
EOF

sudo systemctl daemon-reload
sudo systemctl enable --now dingtalk-bot
sudo journalctl -u dingtalk-bot -f
Note: read AppKey/AppSecret from environment variables or a secrets file — do not hardcode them into a git repo.
Next steps: connect the bot to a knowledge base (retrieve internal docs before answering), or to approval/ticket systems (call internal APIs when a message arrives). Connecting "IM + AI + internal systems" like this is exactly what the Mule Agent platform does — multiple IMs wired to one AI brain, managed from one console.
Wrong AppKey/AppSecret, or extra spaces/newlines were copied along.
The app was never released, or the bot was not added to the current group.
The bot's message-receiving mode was set to HTTP callback (which needs a public URL), or receiving was never configured.
ChatbotMessage.TOPIC (note the 'o' in Chatbot).reply_text must be called inside the process callback — DingTalk's reply context only exists within that callback. An LLM API timeout also prevents a reply.
ask_ai timeout to 30+ seconds; if the model takes long, reply "processing…" first and send the real answer asynchronously afterwards (Stream Mode supports proactive messaging).